1964 Fender Precision Bass Refinish to Fiesta Red
A customer just dropped off his bass for me to work on - a very very nice 1964 Precision Bass - that had been stripped and refinished in clear sometime during the intervening 4 decades. He has requested that I refinish the bass in a classic 1960s Fender color - Fiesta Red - which is a orangey salmon color that originally appeared on the 1956 Ford Thunderbird and then was adopted by Fender during the early 60s when they introduced factory "custom colors". This is the color of the famous Hank Marvin Strat.
This bass has seen a lot of action over the years - it has been actually PLAYED for 44 years !! Given that, its amazing how many parts of the bass are still original - the only obvious non-original parts I can see on the bass are the pickups and maybe the screws holding the neck on - and of course, the entire finish - everything else looks like the real deal to me ! An ideal restoration candidate.
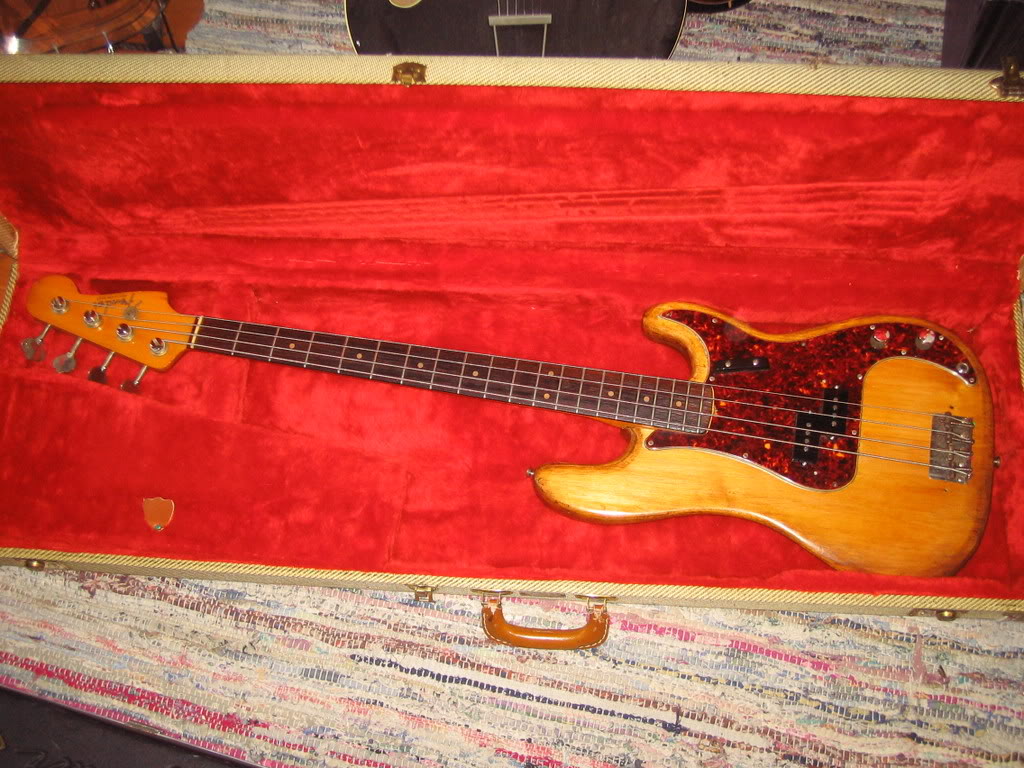
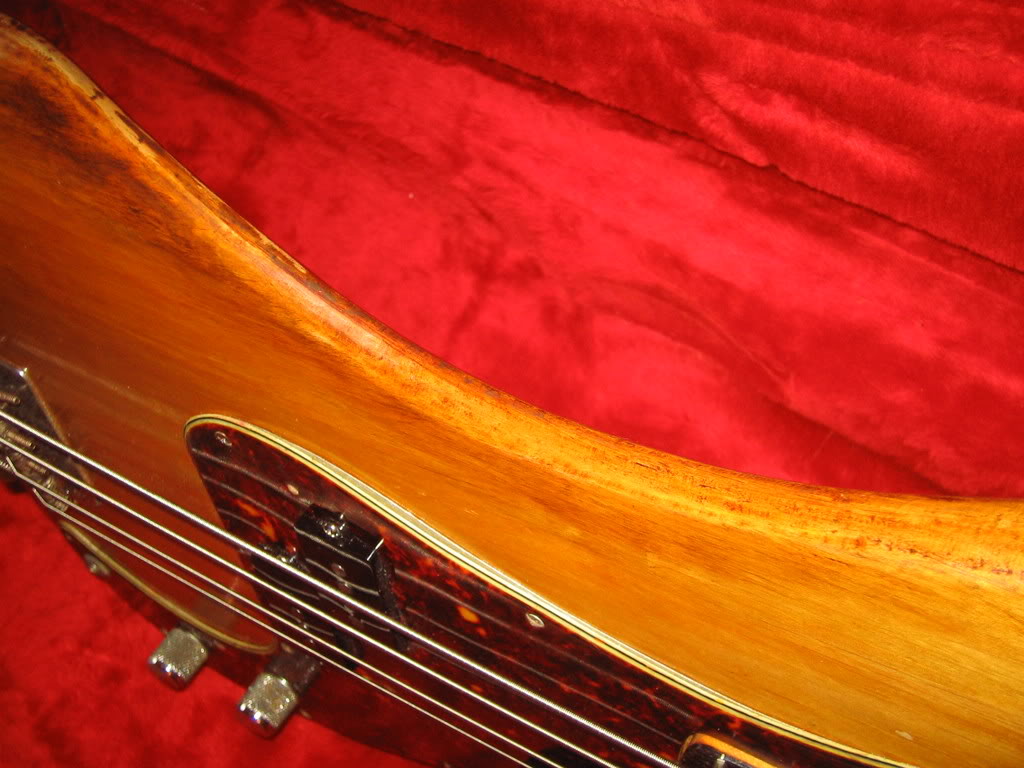
As the pictures show, the end of the fretboard shows substantial wear from the strings hitting during aggressive playing - and the body has a few spots that are a little worse for wear - but the bass feels and plays great - with what look like the original frets.
I started by simply disassembling the bass and documenting any markings I could see.
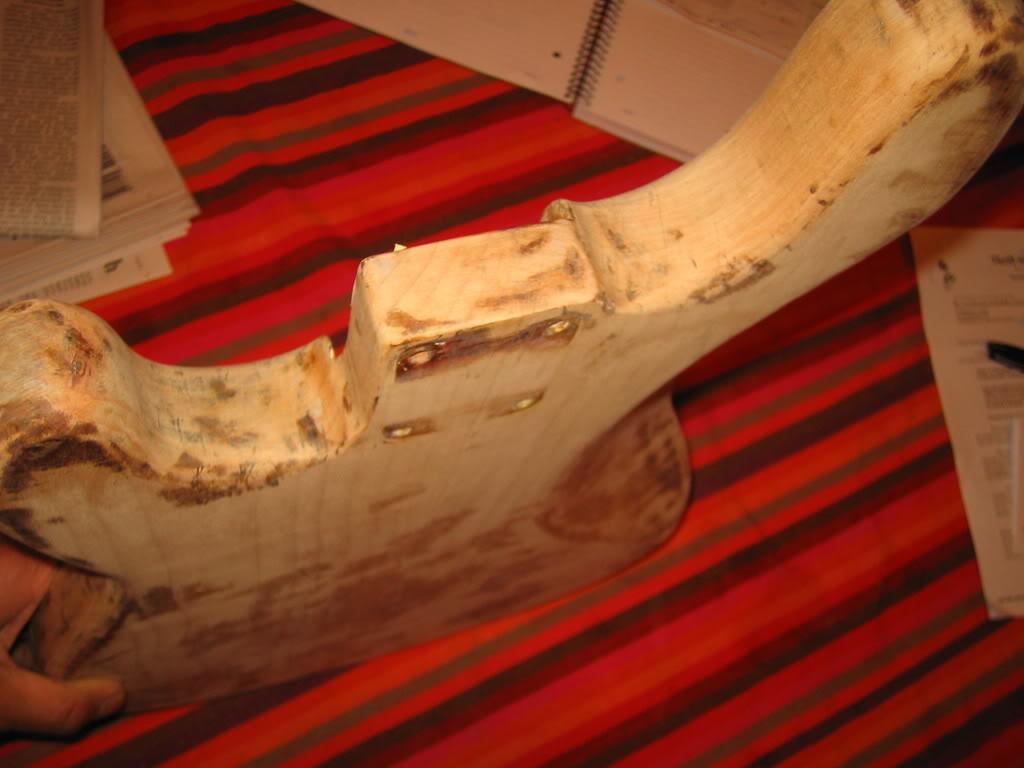
An interesting stamping was in the neck pocket, apparently from a store that sold the bass originally ? The full name of store isn't legible, but it reads "_____ Music Sales, ________ Street, MA, 01609, ___-353-4435" - the zipcode is for Worcester MA - so at some point this instrument was sold by a music store in Worcester. From the look of the white paint OVER the stamp, it probably was after the bass had already been refinished once.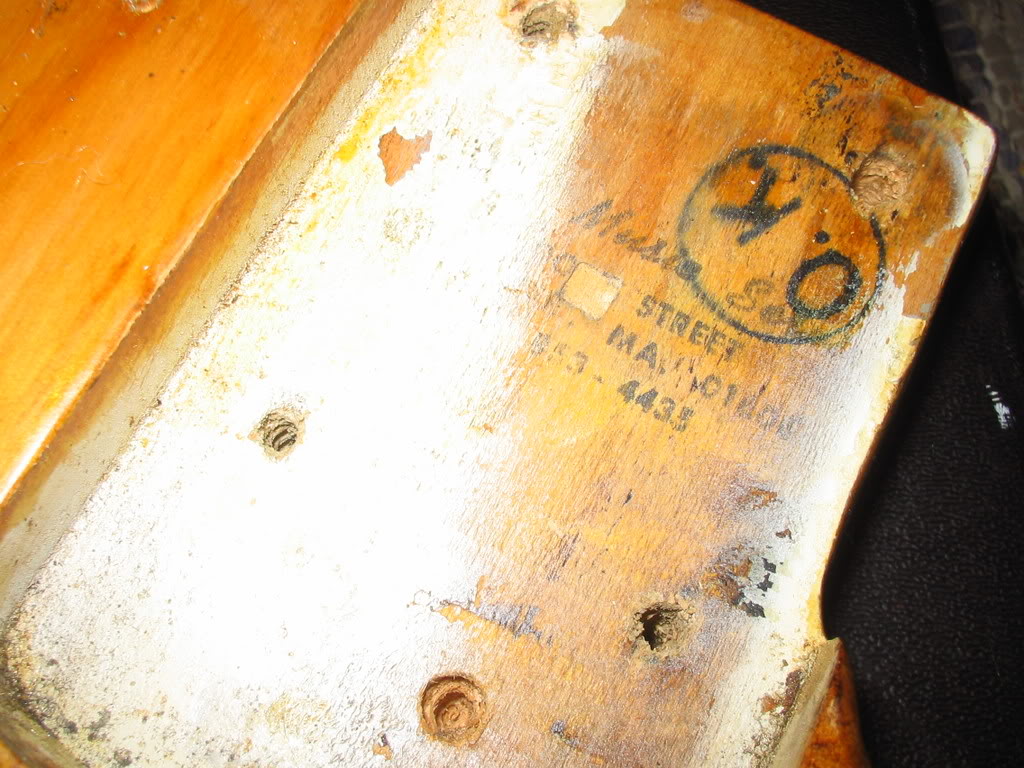
The next step will be to sand down the front and back face of the body - and then start working the rear scoop and contours to get a nice clean but even base to work with.
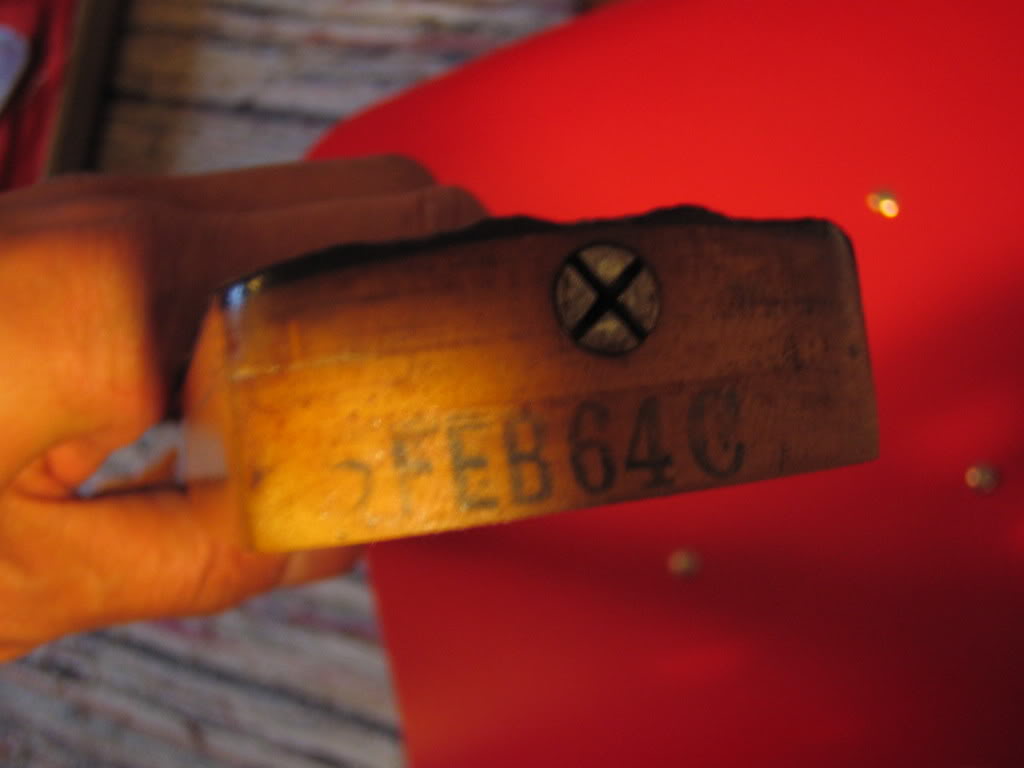
The neck will also be stripped, with the exception of the heel, where the date stamp is - and the back of the headstock, which appears to still have the original finish UNDER a clear overcoat. The current decal is an inaccurate replacement and it will be removed and replaced with the correct decal for a 1964 P-bass.
Keep your eyes open as this project moves along over the next few weeks. I just picked up a GALLON on Fiesta Red nitrocellulose from the helpful folks at Eastern Chem-Lac in Everett MA - so I will probably be doing a number of Fiesta Red refins over the next year or two - hit me up if you have a desire for something in this amazing color !!
(Update April 2nd, 2008)
Work on the P-bass body has progressed, with the old finish stripped off and the body sanded clean to the extent possible. There are stained areas, from a time when the bass was apparently stained a light brown color ?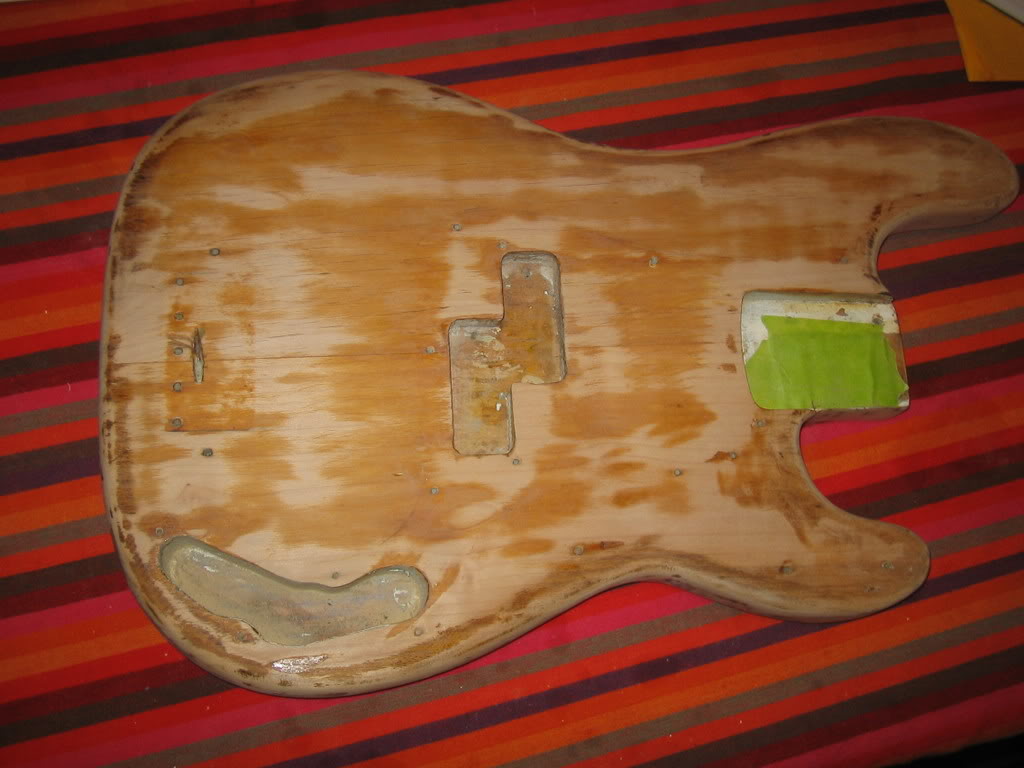
There is only a small amount of damage to the wood - an area on the back that was gouged probably during a prior refin, and some edges that are beat up also from some over-zealous prior work - but overall the contours are in excellent shape and a little strategically placed lacquer and a primer coat should take care of the other imperfections.
The body was then stained with an alcohol-based stain, which was a blend of Stew-Macs "Vintage Amber" and "Lemon Yellow". I tested this out on a scrap piece of wood first, blending the dyes until the color was a bit lighter than the yellow part of a Fender 3-color sunburst. The body was then stained with a cloth - with the entire surface getting about three rubbed in coatings, until an even color was obtained. Notice that the stained areas still show through the transparent yellow.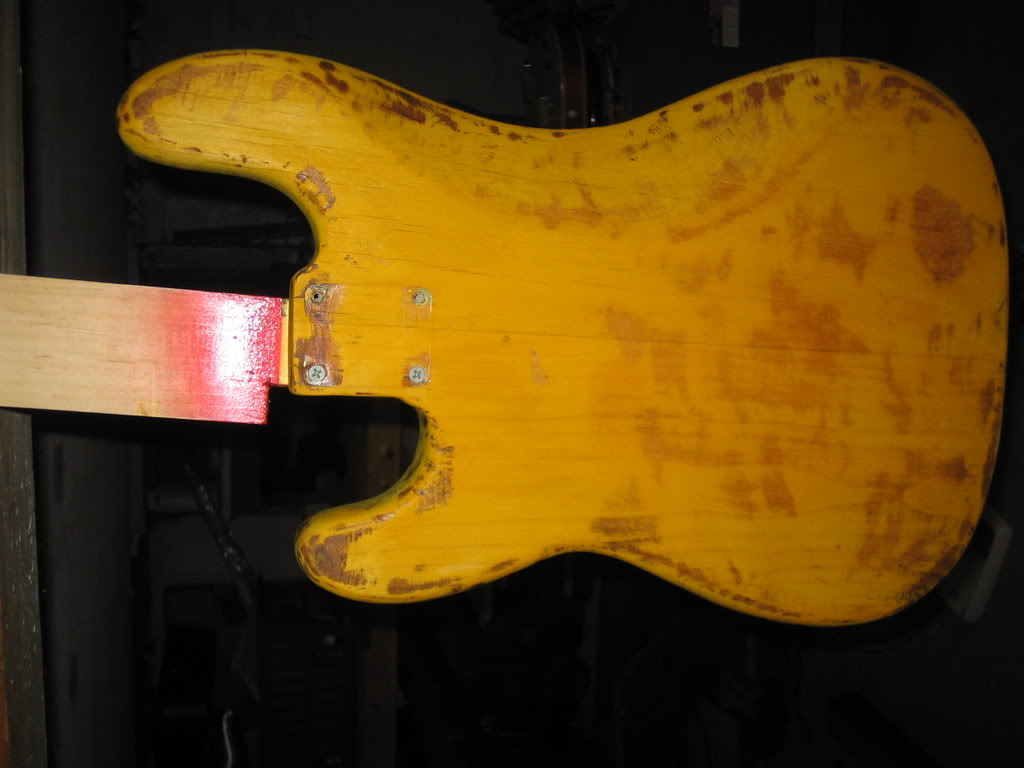
The next step was to seal the body with a sprayed on vinyl sealer - I used Behlen's Vinyl Sealer, which is very similar to the Fullerplast sealer that was used by Fender in the 1960s. 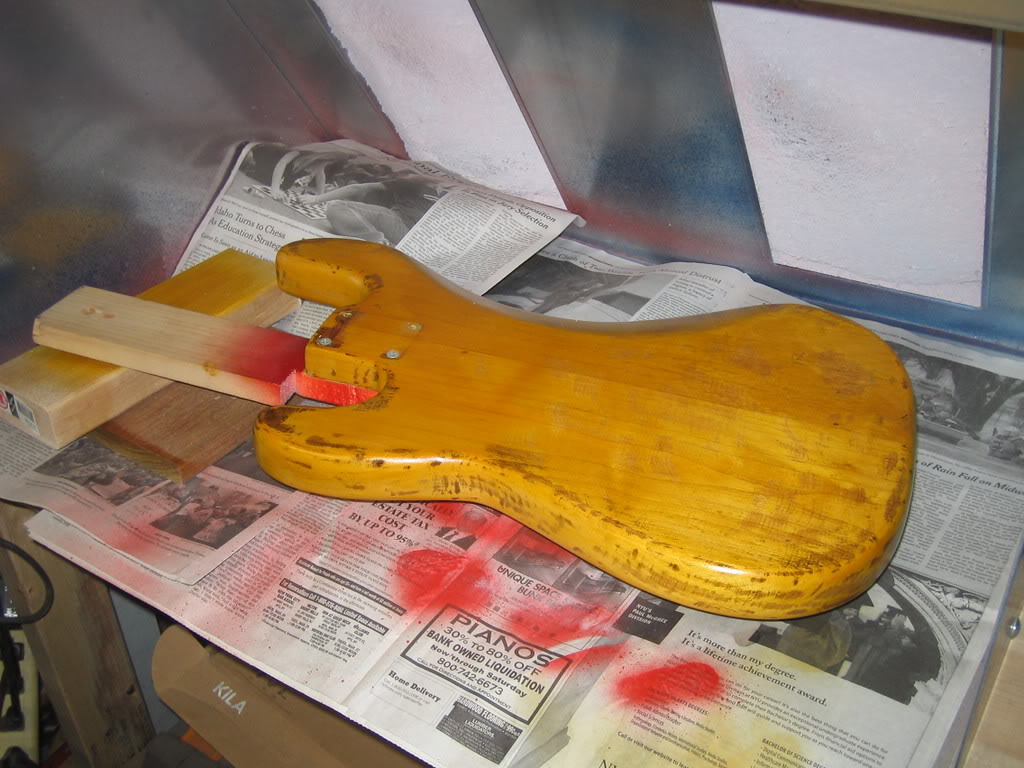
Both are clear vinyl sealers that are a bit like thinned down airplane glue. One heavy coat is usually enough - with light block sanding afterwards with 400 grit wet & dry paper.
Next up - white primer !!!
(Update April 8th, 2008)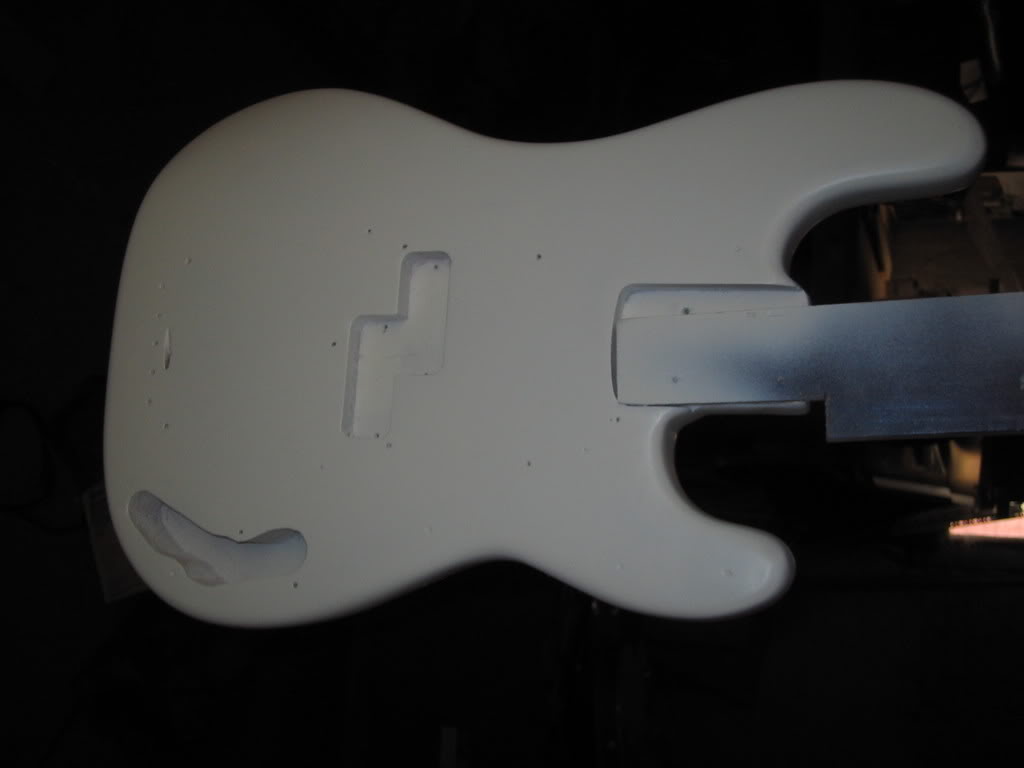
Some major progress the last few days as I recovered from my cold. I applied an initial coat of white lacquer primer to the sealed and sanded body and when it was dry it was obvious where the body still had some dings, gouges and low spots - so out came the glazing putty - which I applied to those areas.
After letting the glazing putty (which is basically very thick primer) harden up, I sanded the entire body again - removing about 1/2 the primer and about 90 percent of the glazing putty - I just wanted it to remain in the depressions and low spots and be as thin as possible. As you can see - there are quite a few spots just on the top of the body. The two horns of the body were especially beat up from various refins over the years.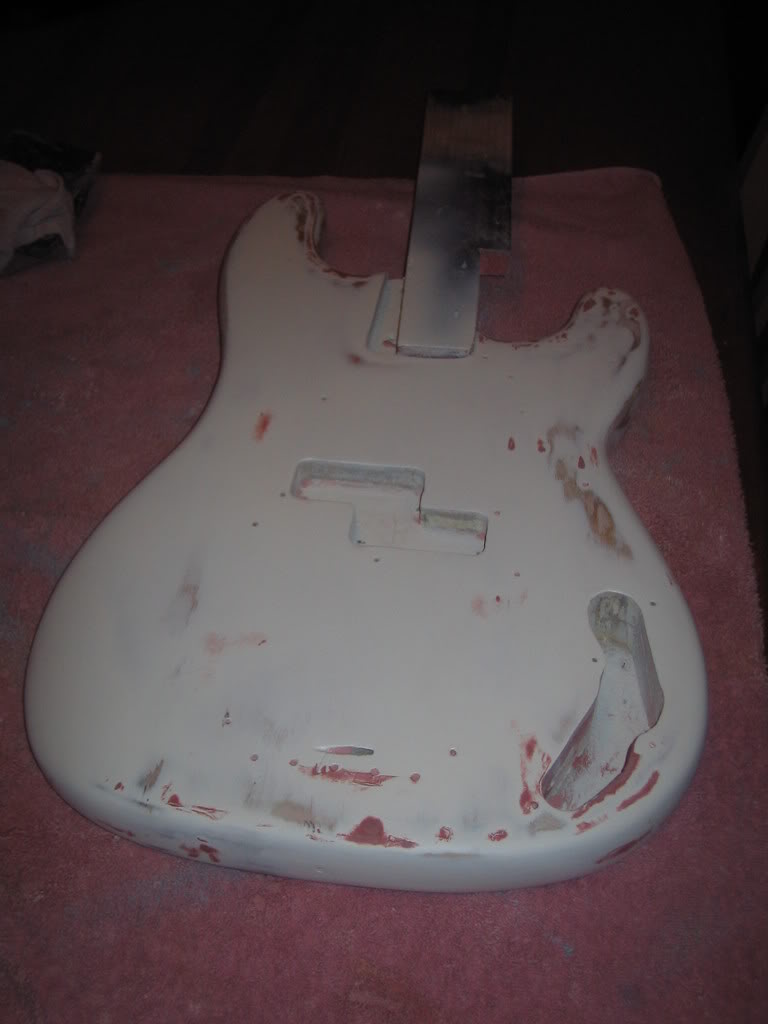
Then another coat of primer and another round of wet sanding - this time leaving most of the primer on, with just a few spots getting sanded down to even out the contours around the horns. And now its COLOR time !!!
First - a picture of the LOVELY lacquer that the kind folks over at Eastern Chem-Lac of Everett MA mixed up for me - rich and thick and .. Fiesta-ey !! I thinned the lacquer with an equal part of plain lacquer thinner, to get the consistency similar to whole milk.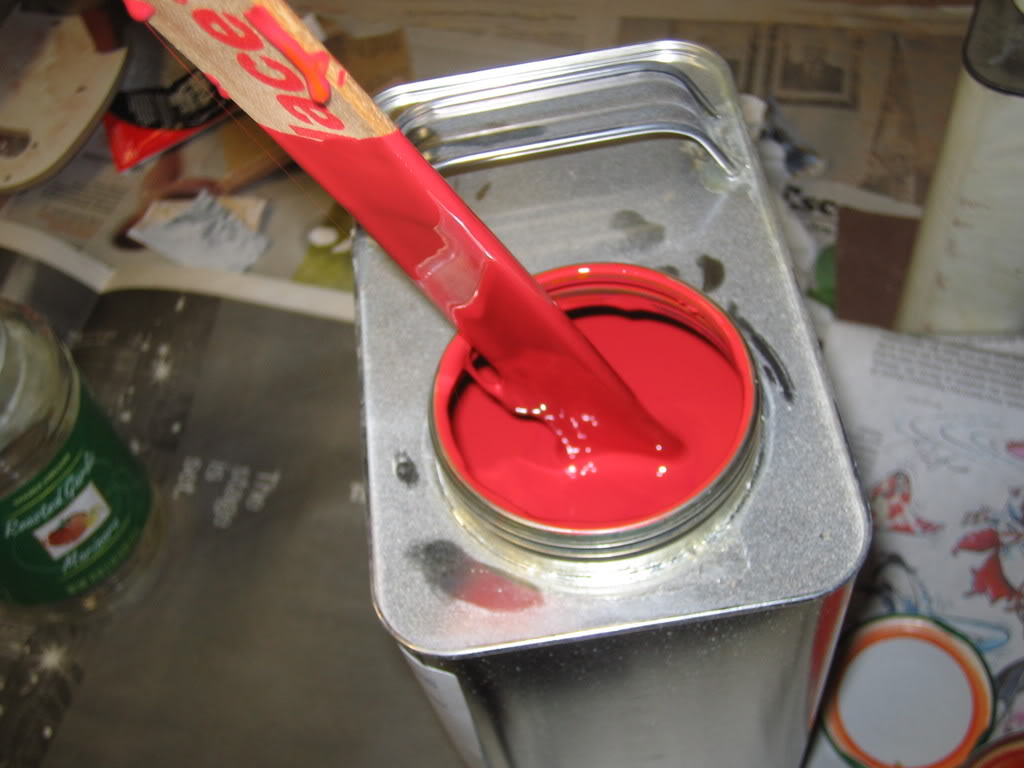
First I applied a mist coat to the edges of the body and the neck pocket and routings - then gradually giving the whole body a very light transparent coat - if you look at this picture closely you can see the white primer showing through.
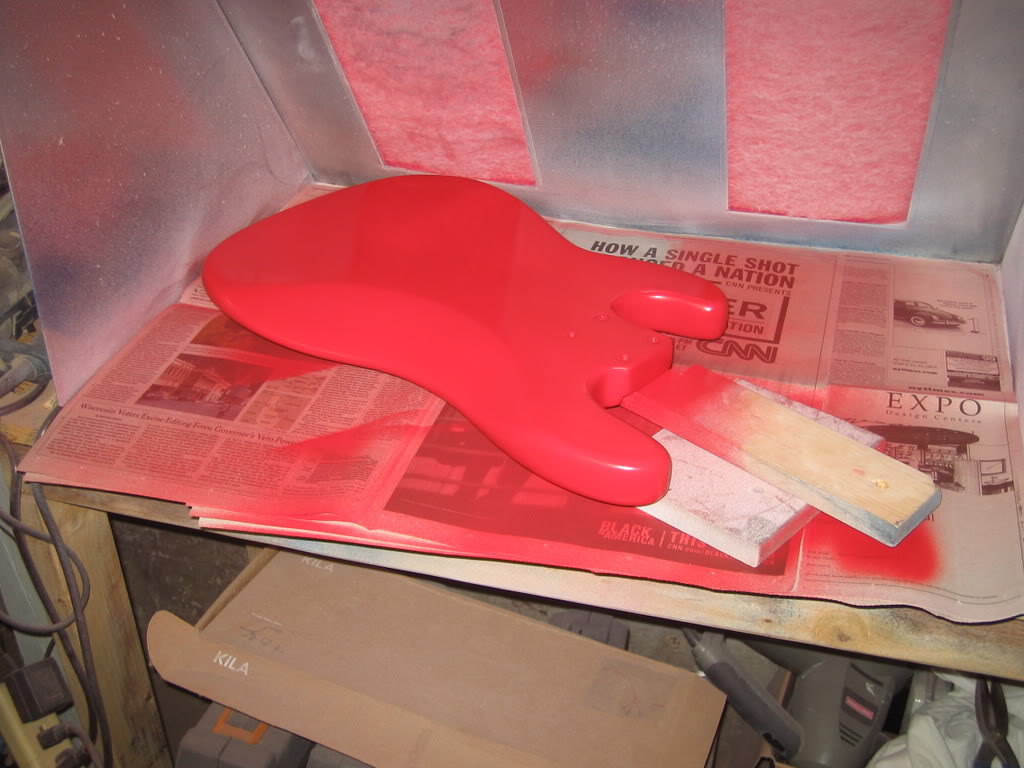
After letting the mist coat dry for a few minutes - I lowered the air pressure and increased the paint flow and started to lay on several coats of color - pausing for a minute or two after each complete pass to let the solvent flash off. For the final pass I lowered the air pressure further, to try to get more of a gloss finish - and resprayed the edges and cutaways of the body. I will let this first color coat dry overnight before wet sanding it to a smooth finish - which will undoubtedly remove about 1/2 the paint and result in a few sand throughs to the the primer. After that - one more low pressure - slow and glossy color coat and hopefully the bass will be ready for clear coating by this weekend.
(by the way - click on the images for a full size view!!)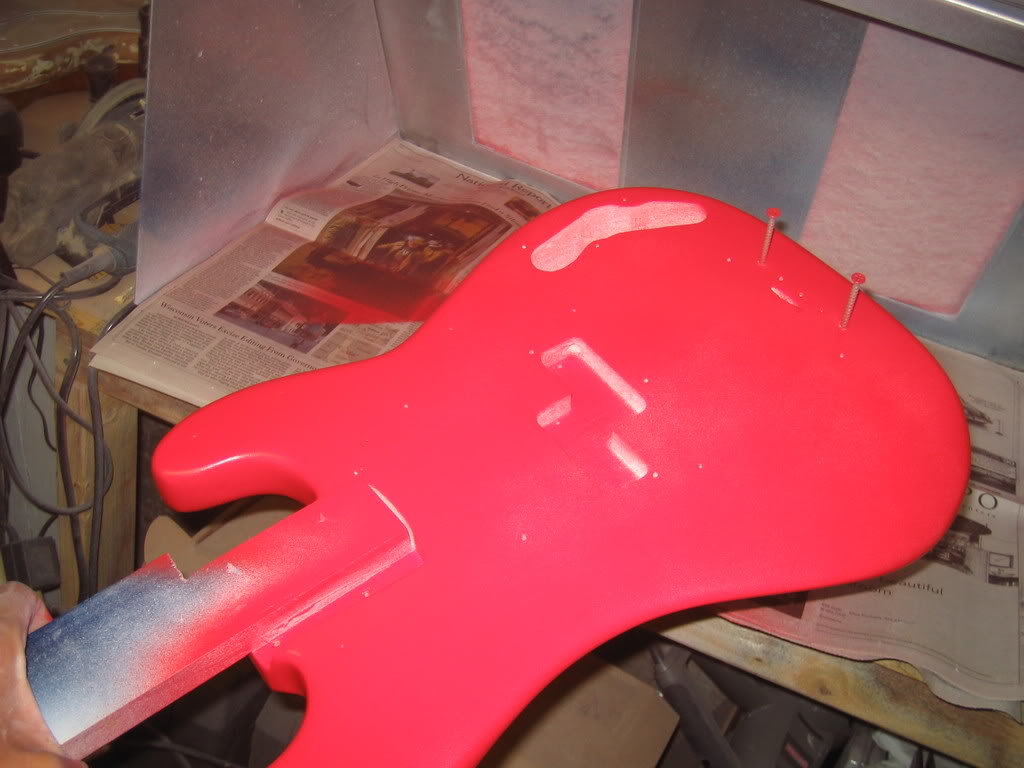
(Update April 10th 2008)
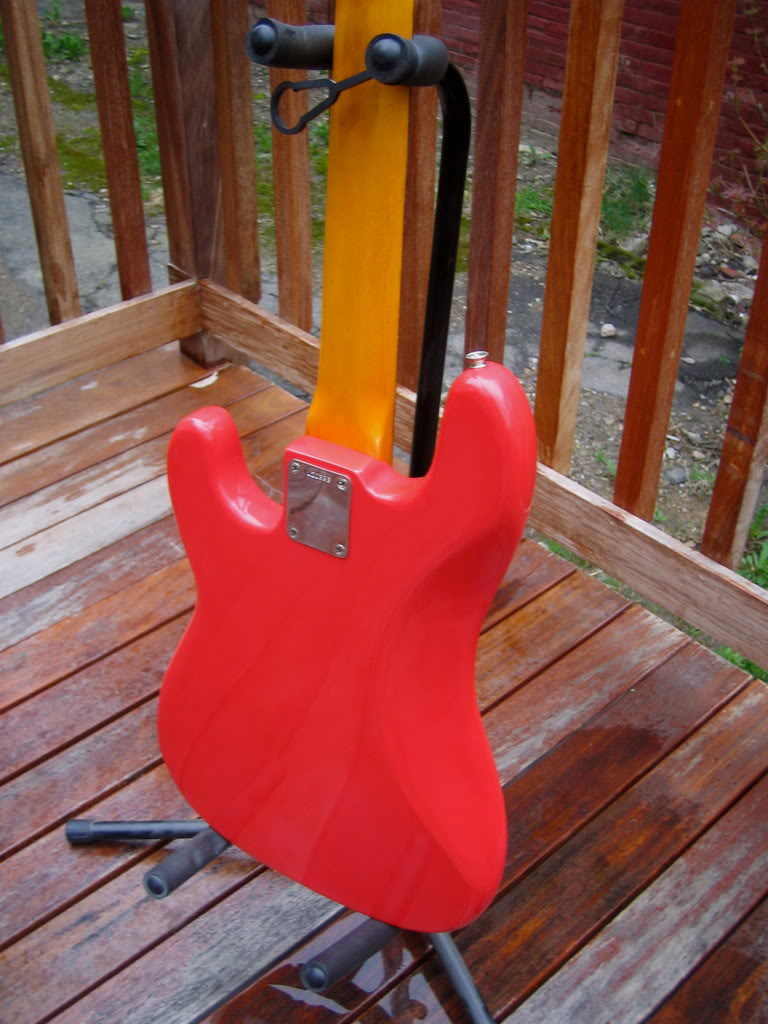
A second color coat has been applied and wet sanded and a clear coat has then been sprayed over that. The clear coat will be wet sanded and then recoated, before the final buffing out of the finish. The color appears more orange in this picture because I didnt use a flash for this shot, though the clear coating did deepen the color a bit.

( Update April 30th 2008)
I finally turned my attention to the neck of the P-bass - which was in very nice condition, but needed a refin with a thinner nitro coat and replacement of the headstock decal.
Since the original neck finish was still on the back of the headstock, but oversprayed with a glossy coat, I decided not strip that part of the neck, but rather just wet sand it to try to remove the overspray. The old finish under the overspray had the classic lacquer checking and I wanted to preserve that. Also, by matching the parts of the neck I did respray to the old finish, I knew I'd have a realistic amount of ambering or aging.
This is the neck stripped, with the exception of the butt end (with the date stamp) and then back of the headstock area.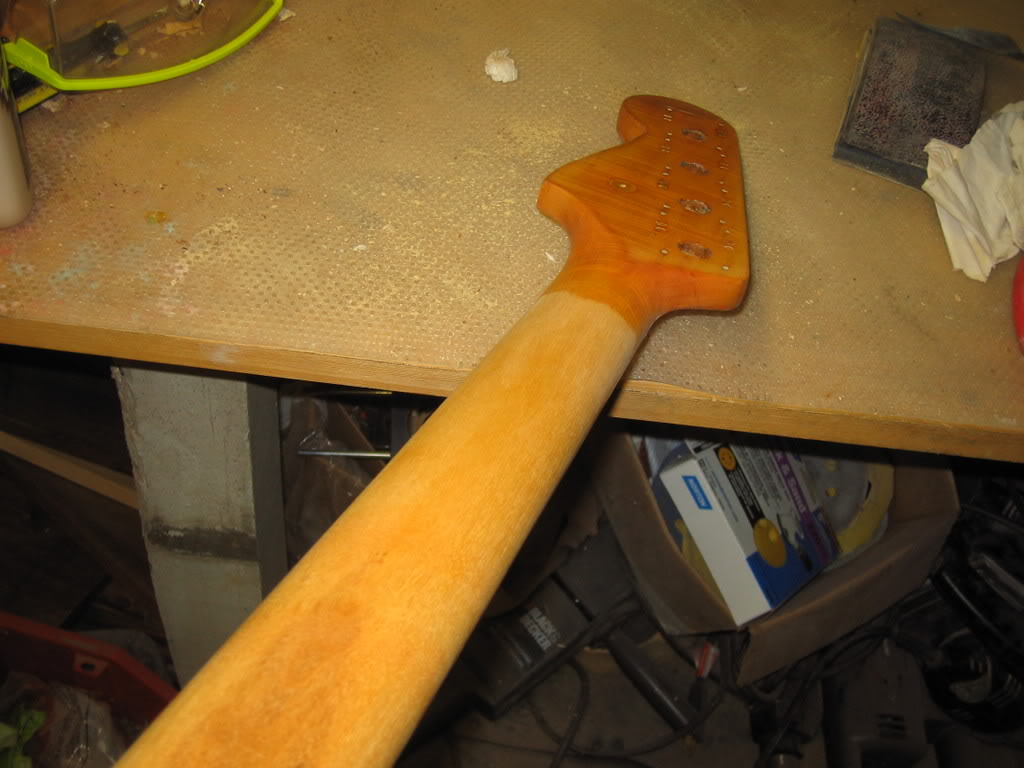
I then clear-coated the stripped areas with a thin coat of nitro. When this was dry, I used ReRanch's Fender Neck Amber - which is simply a dye blend in a can - to gradually tint the back of the neck and the headstock to match the portions with the original finish. When this was dry, I sprayed the entire neck (except fretboard and neck stamp of course) with a slightly tinted clear coat - to lock in the dye and blend everything together.
Notice how the checking is visible on the back of the headstock through the overspray !!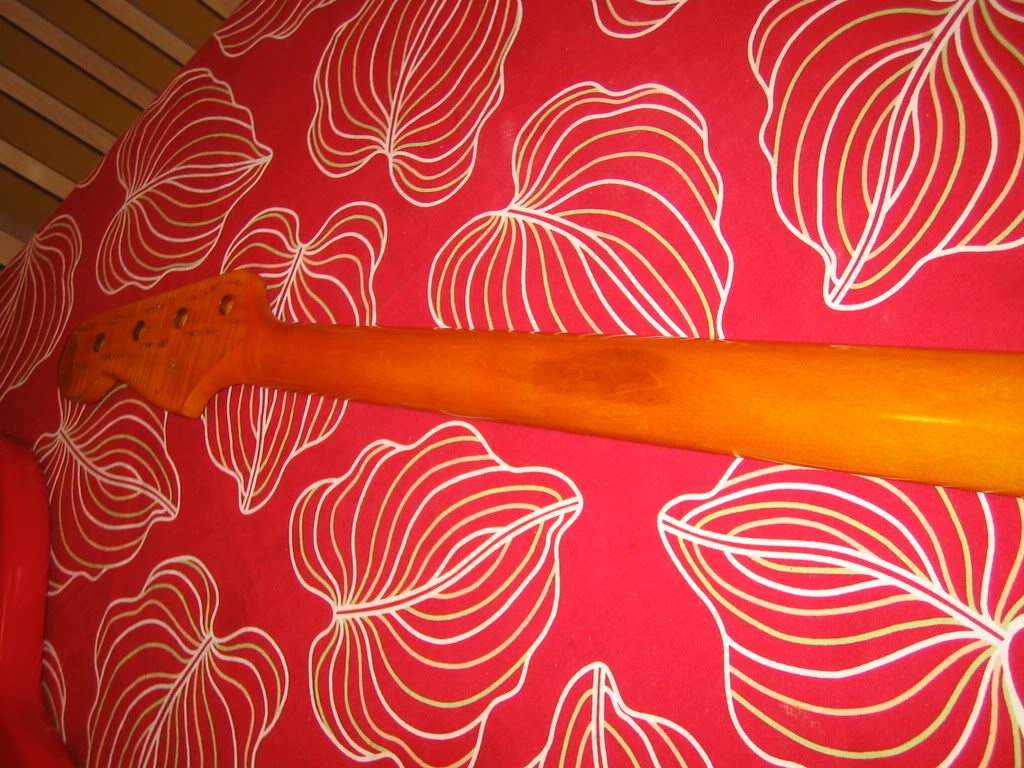
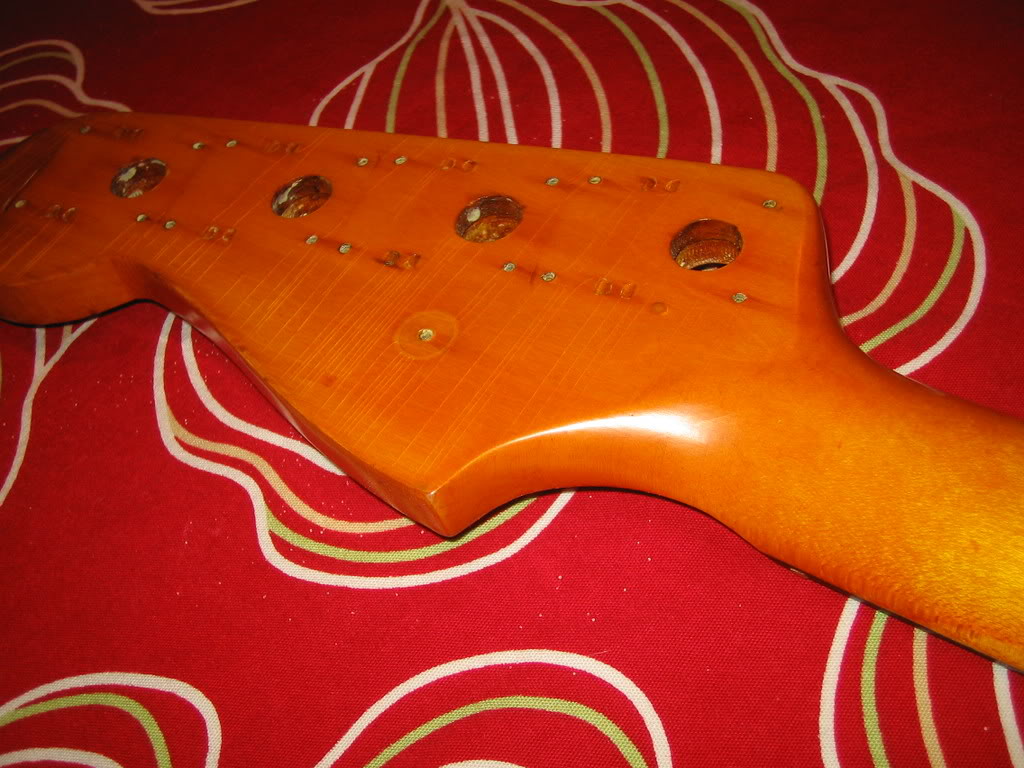
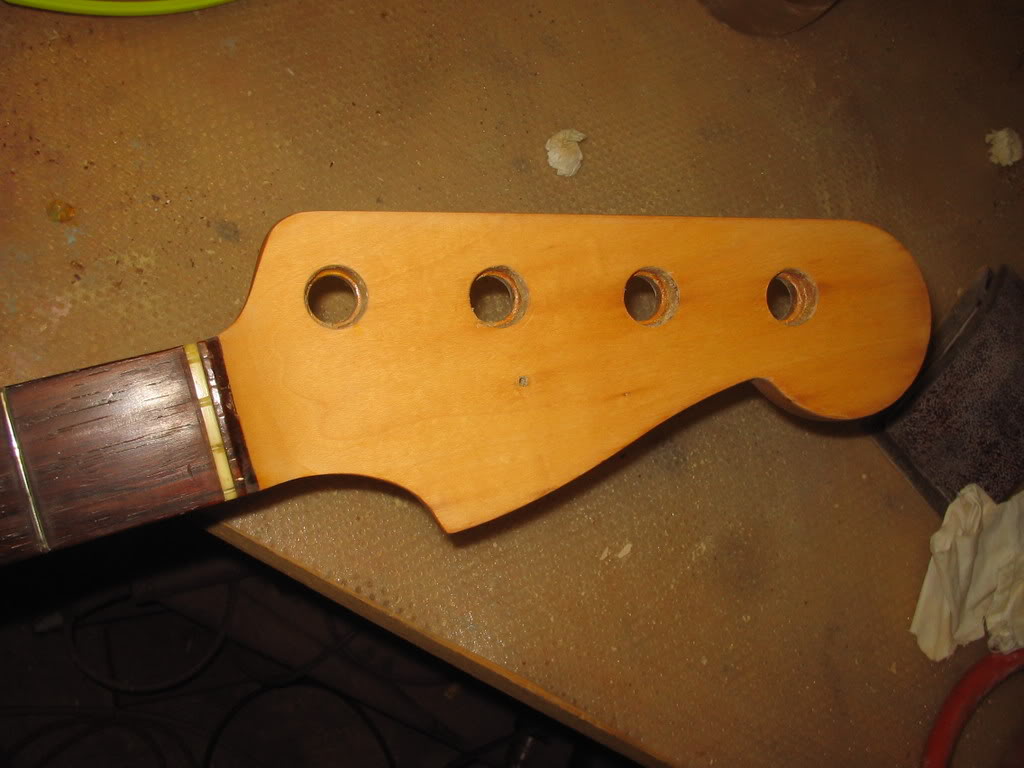
After a light wet sanding and buffing with compound to get a slightly glossy finish on the back of the neck and a very glossy front of the headstock, the neck was ready for a replacement logo. The replacement is actually very similar to the prior replacement - after a little research I realized that this was the proper logo, patent and design # combination for a February 64 P-bass.
One thing slightly unusual about this P-bass is the position of the string hold-down - it is located a bit further from the nut than is typical - but its obvious from the lack of extra screwholes this is the original location. For this reason, the logo is located slightly lower than on say a 1963 P-bass - so that the "F" won't be covered by the string hold down. I'd be interested to hear if others have noticed string hold downs shifted to different locations as well.
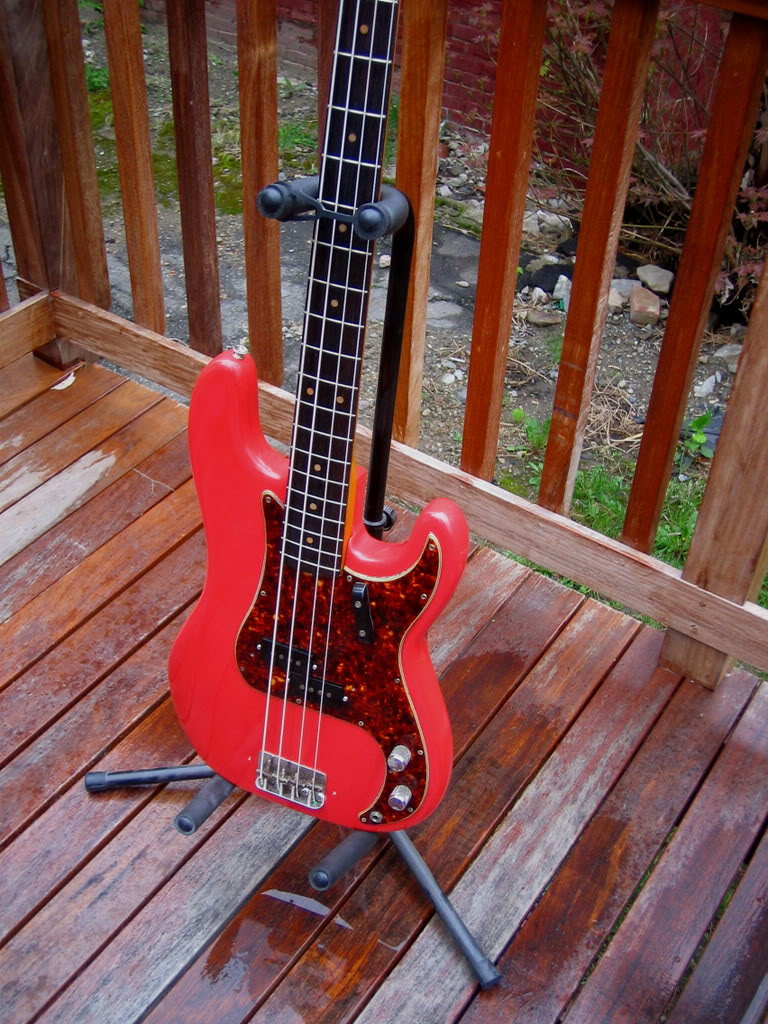
(Update May 3, 2008)
Well the bass was finally completed and picked up yesterday - I only got to snap a few pictures before it left the house, but I was very happy with the results - the tortoise guard really looked great with the Fiesta Red - a set of shiny chrome bridge and pickup covers would look great, even if they get in the way of actually playing !!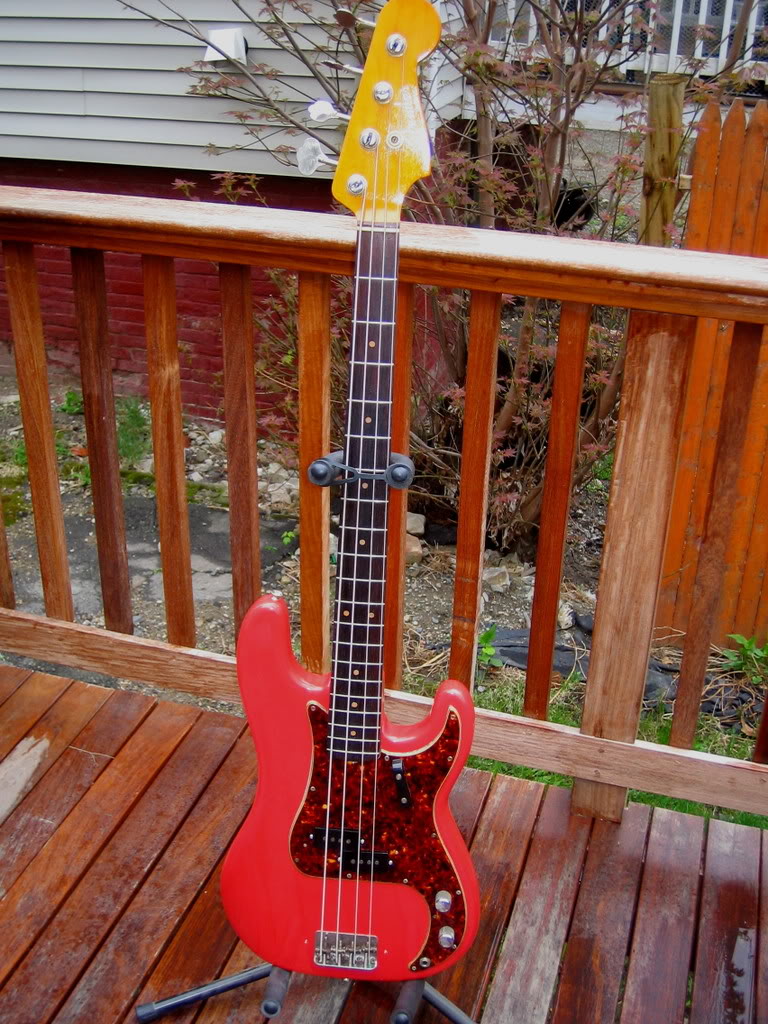
- 1976 Fender Precision Bass: Refinish To Lake Placid Blue - A Classic 60s Color!
This is a fairly straight forward refinish of a stripped Fender Precision bass body in one of Fender's classic 1960s custom colors, Lake Placid Blue. As with all of the Fender custom colors of the 60s, Lake Placid Blue was originally a car color for...
- 1966 Fender Jazzmaster: Aged Olympic White
< A fairly straightforward project here - a 1966 Fender Jazzmaster body that had been poorly refinished over the years and that the owner wanted to do in an aged Olympic White finish. The original Olympic White is a color thats seldom seen - its a bright...
- G&l L1000 Bass - Partial Refinish
Another project that has recently come my way - an early 80s G&L L-1000 bass with a mahogany body and a transparent brown or mocha finish - that has suffered from some sort of finish deterioration on the front face only. The pits in the finish actually...
- G&l Asat Bass Refinish
Ok some of you may wince, because this bass had a very nicely done factory cherry sunburst finish when I started on it, but the owner simply didn't like it and wanted something brighter and louder and more ... ORANGE !!! This is a very cool bass -...
- Squier Strat Quickie Paint Job
A customer acquired Squier of indeterminate vintage, for free I believe, and decided they wanted to "spiff" it up without spending a lot. Since the Squier had the typical poly urethane/polyester bowling ball finish and it was a heavy plywood body, we...