G&L L1000 Bass - Partial Refinish
Another project that has recently come my way - an early 80s G&L L-1000 bass with a mahogany body and a transparent brown or mocha finish - that has suffered from some sort of finish deterioration on the front face only.
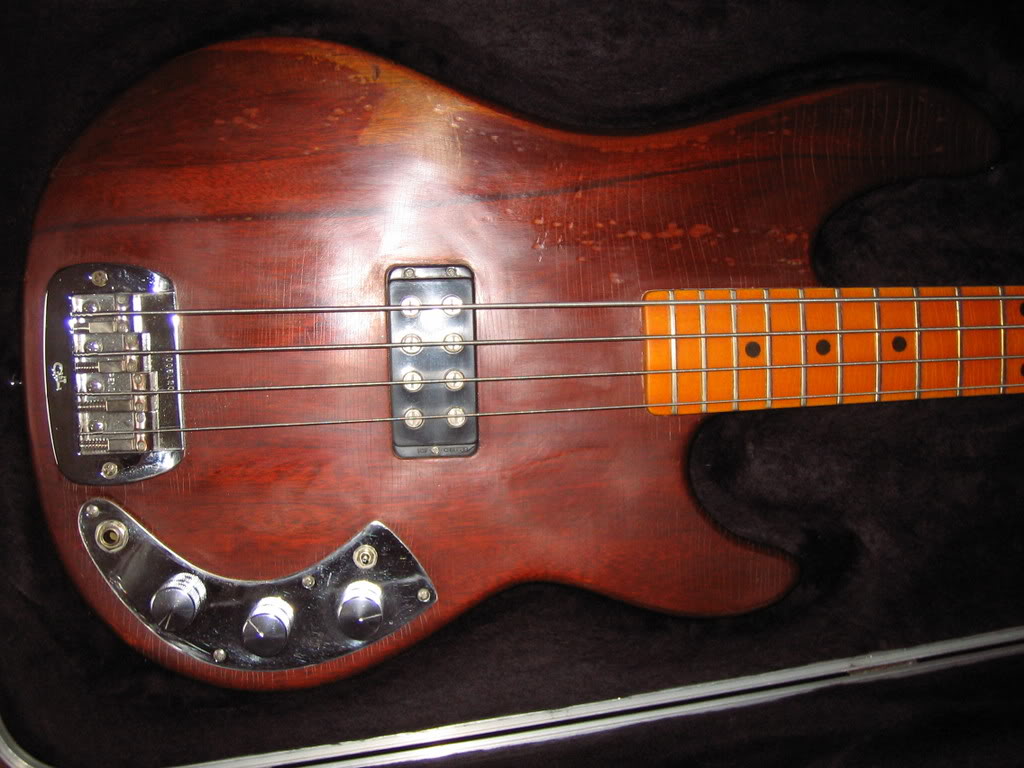
The pits in the finish actually appear to be dings in the body, but I will find out for sure once I strip the front face. If they are, I'll most likely be able to steam them out once the wood is bare.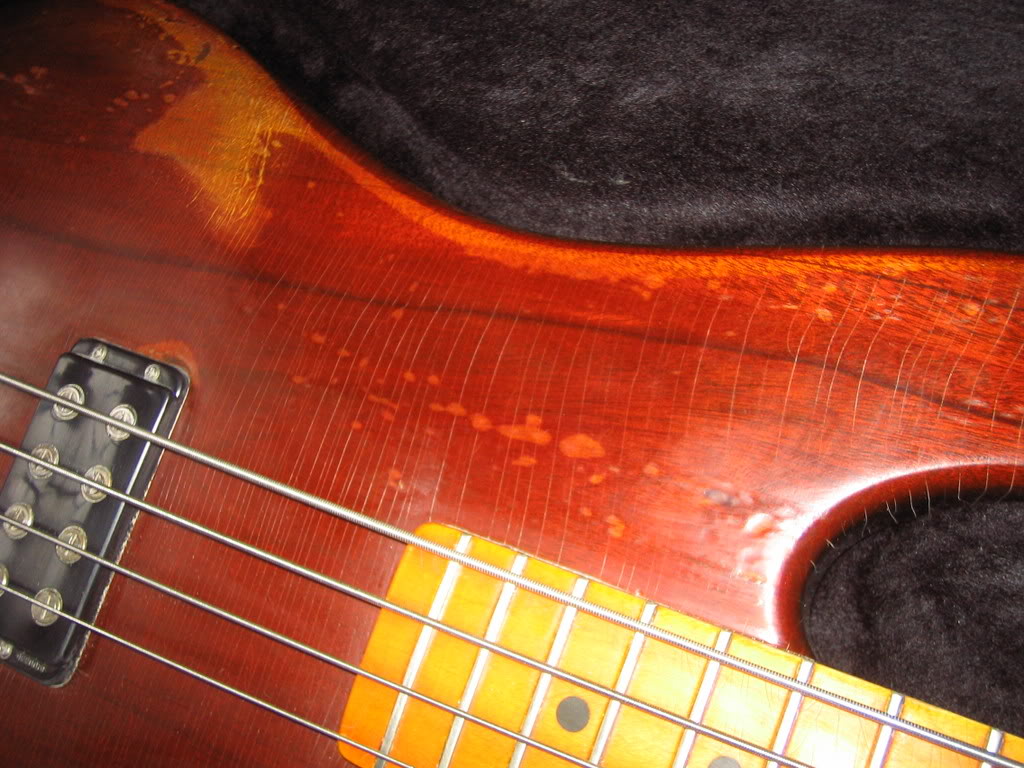
The owner of this bass considered having the entire body stripped and refinished in a solid color - but we both agreed that the mahogany underneath was far too beautiful to cover up with paint. See the pictures below for a view of the incredible grain and figuring on this lovely slab of mahogany bass-i-ness !!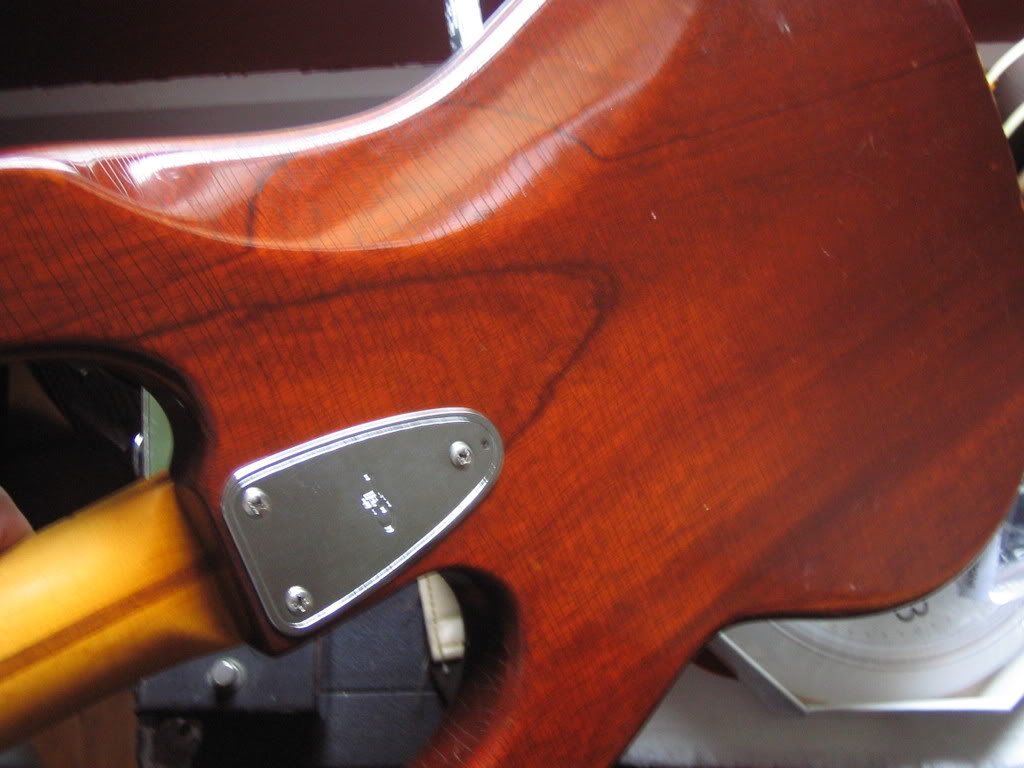
Obviously the challenge will be to match and blend in the new finish on the front of the bass with the existing finish - the key part will be to tint lightly and slowly build up the color to match the existing finish. I will be using clear nitrocellulose with a blend of walnut and red and "vintage" amber dye - I'll probably try to find a piece of mahogany to do a trial run on first.
(Update May 23rd, 2008)
I disassembled the L 1000 last night and stripped the front this morning. Since I'm preserving about 2/3rds of the original finish - I decided to carefully sand off the finish, so I wouldn't have paint stripper damaging the finish on the sides or back. I used a random orbital sander - starting with a fairly heavy grit to thin down the finish, and then switching to a fine (220) grit pad to get down to bare wood. I then finished off the edges and contoured areas with a sanding block and 220 grit paper.
The finish came off nice and evenly, with minimal wood dust (and hence, minimal wood removal). The finish was fairly thick - and the apparent "dents" in the front face were actually merely pits in the overly thick finish (tsk tsk George & Leo !!). There is one ding on the entire front of the body - a small one near the arm contour, which will probably just look like a small dark spot once the refinish is done.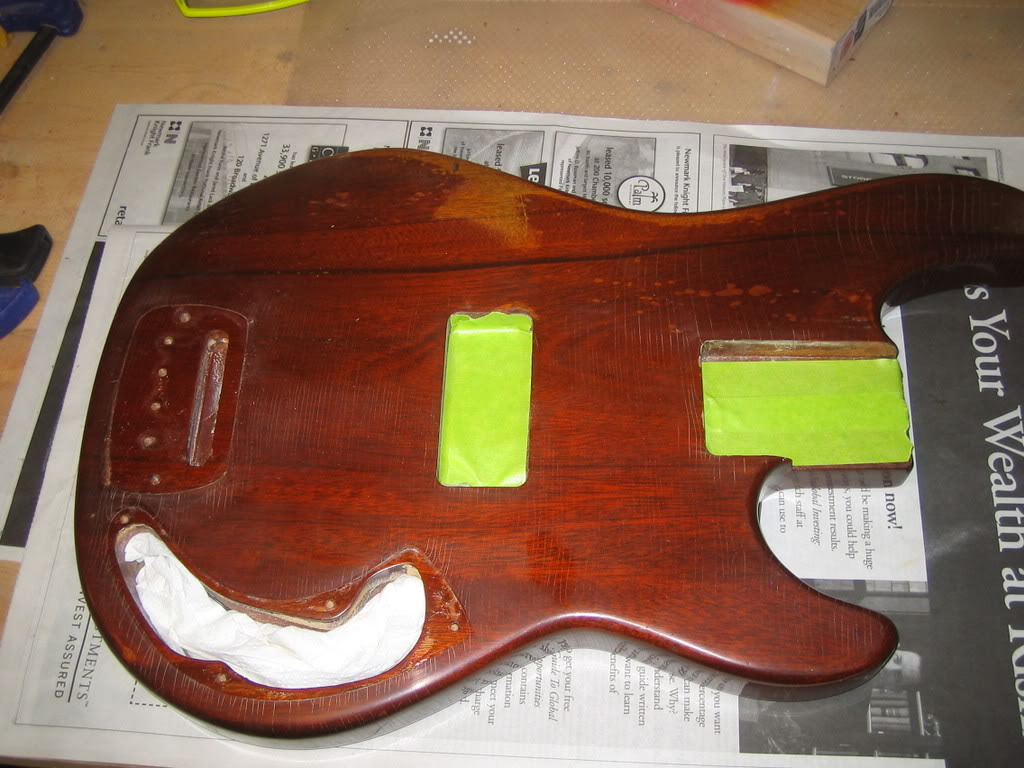
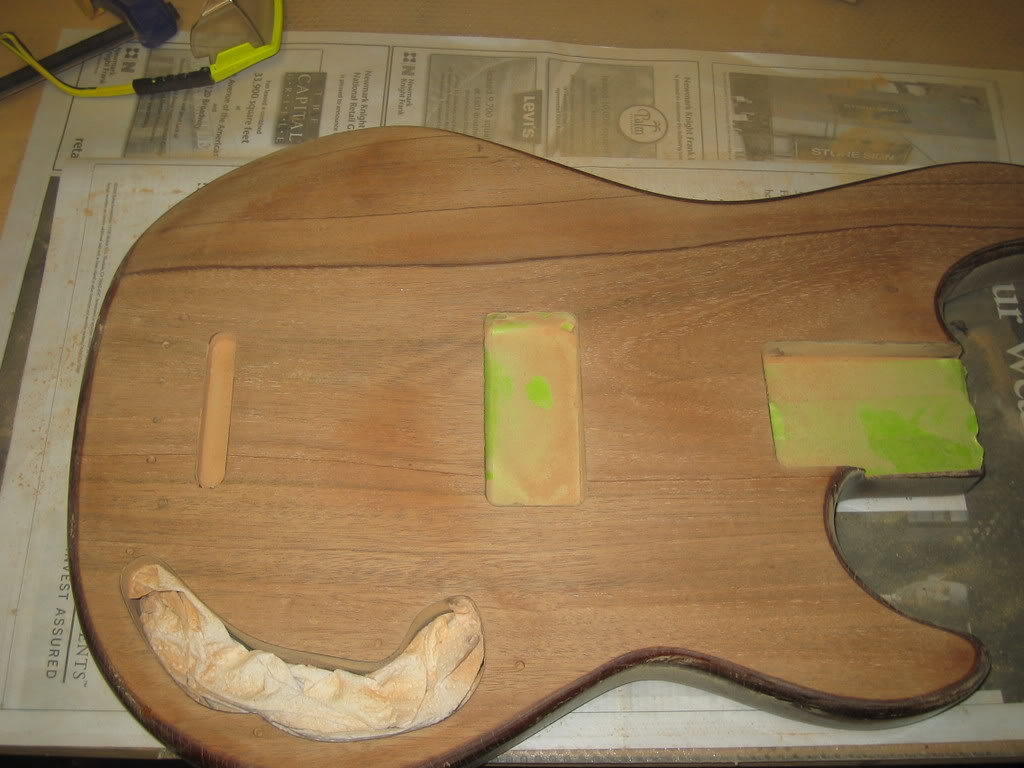
For the last picture, I wiped down the front of the body with naptha, to remove the dust and to reveal the gorgeous grain and figuring on this piece of wood.
After careful some block sanding down to a 400 grit, I will clear coat the front to see if I need to fill the grain at all and also assess how much color I will need to add to match the sides and front. I will probably be using a very lightly tinted clearcoat to build up the color gradually and evenly.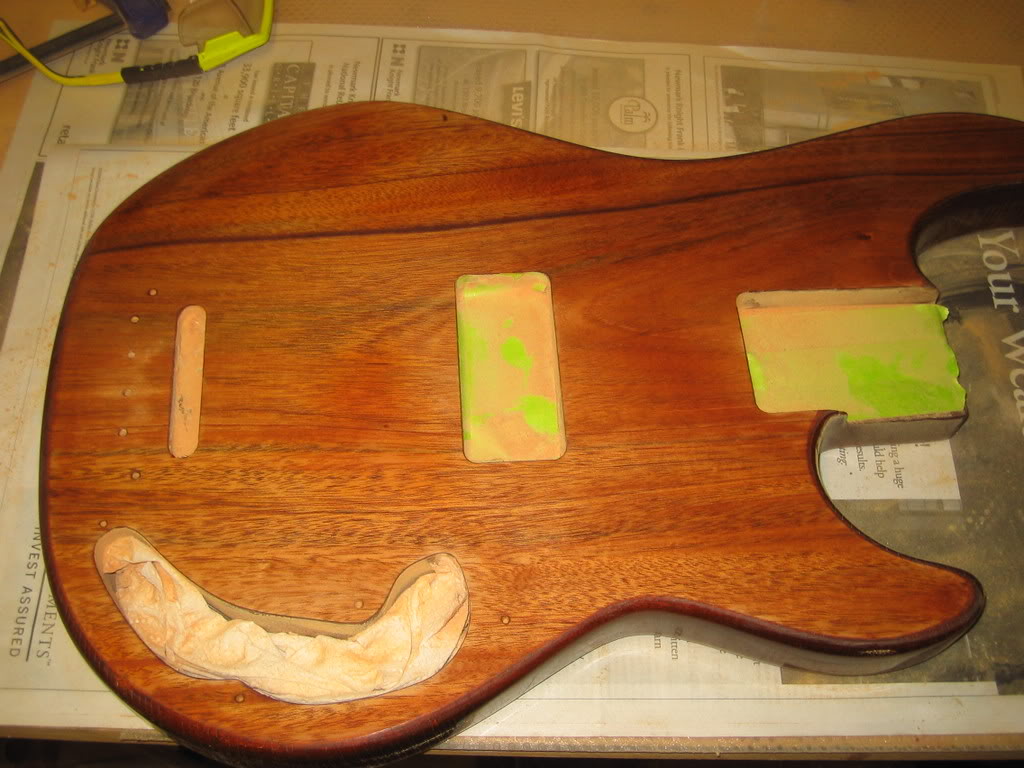
(Update May 31st, 2008)
After a clear coat, it became obvious that the grain of the mahogany needed to be refilled, as the grain filler had been at least partially removed in the stripping process. After applying grain filler and sanding all the excess off to leave filler just in the grain of the wood, I began to apply the finish.
I first did a moderately heavy coat of clear lacquer, to seal the filler and wood. I then tinted some clear nitro with a mix of amber, cherry red and walnut dye, with a proportion of roughly 4:3:1 - there is a lot of red in this color and you can go light on the walnut, because it has a strong black tint in it. I tested the blend on a small piece of mahogany, just brushing some on, to see what the tone of the color was.
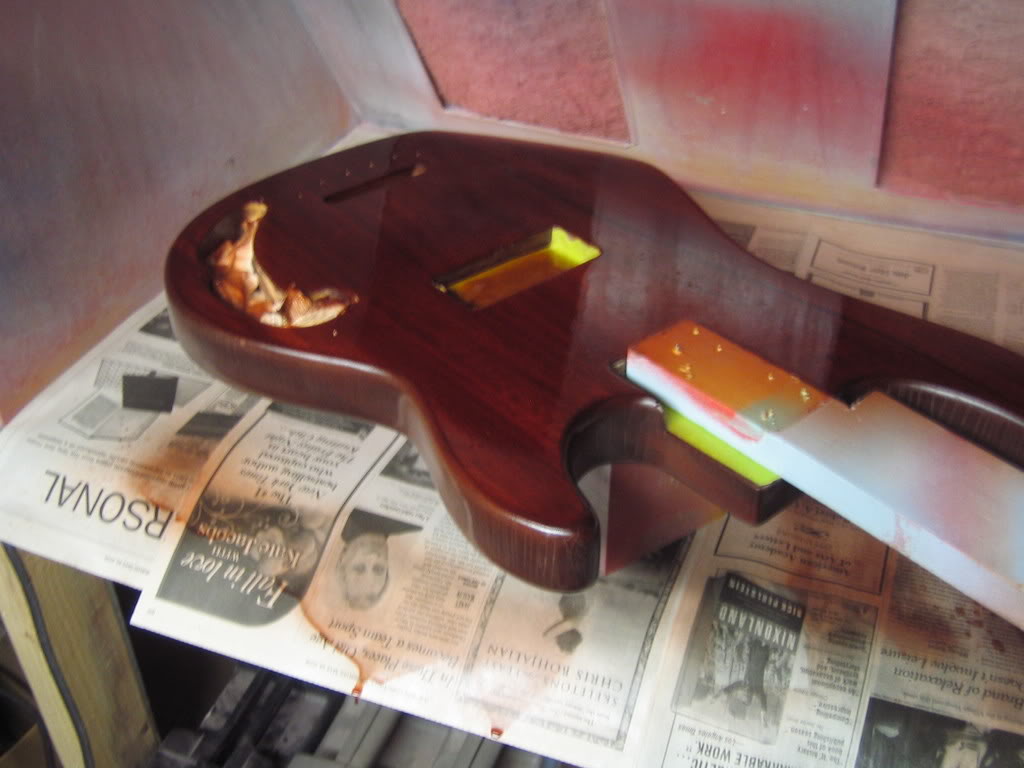
This blend was then cut further with some clear lacquer and then thinned for spraying. I did three heavy coats to slowly build up the color - a lot of the color you see is actually from the underlying mahogany - but you can see already that it has the proper reddish-brown warm color.
After wet sanding this finish lightly (few pieces of dust and one splatter on it), I'll continue to build up the depth of the color - then add a top coat of clear and buff it out. Viola!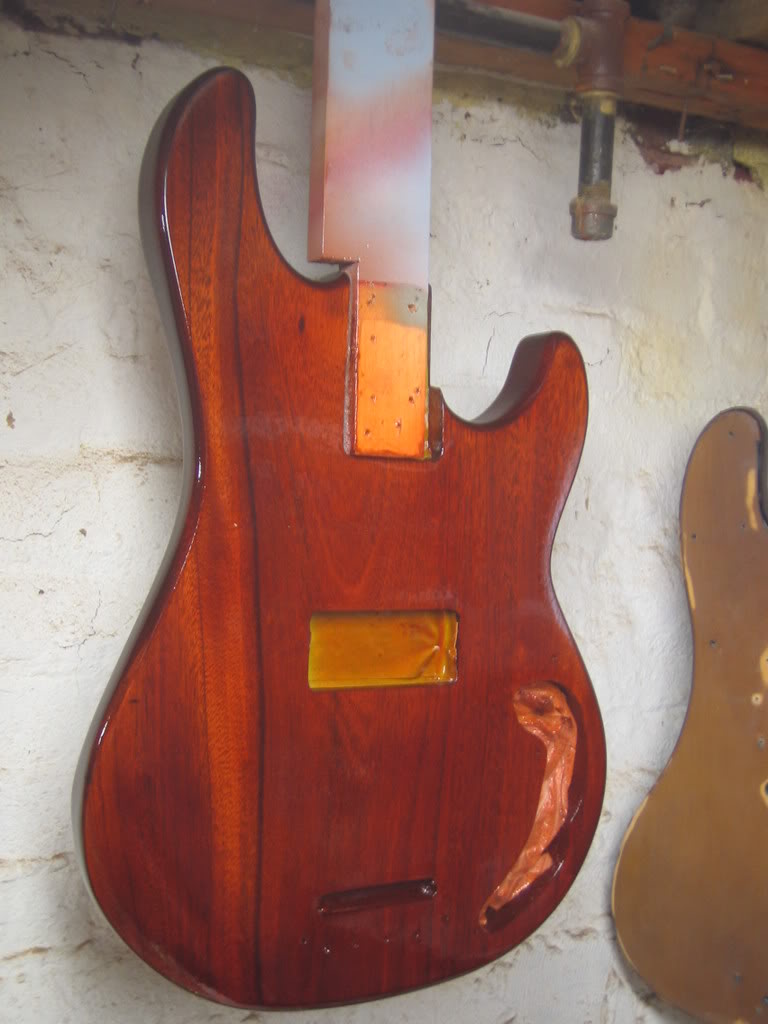
(Update June 24th, 2008)
After setting aside the L-1000 for a few weeks, I wet sanded it, sprayed two more lightly tinted coats and then clear coated it multiple times. The mahogany really looks fantastic and the finish came out very nice and even, with the majority of the color coming from the mahogany itself.
The color coats did add a reddish tint to the instrument and really warmed up the finish.
I have done a preliminary buffing, but the front will need another wet sanding to smooth out a little waviness in a few areas - I also have to let the finish harden up extra long to compensate for the lacquer retarder I had to add to the tint and clear coats to combat the summer humidity.
But as you can see - the bass is going to be quite the looker !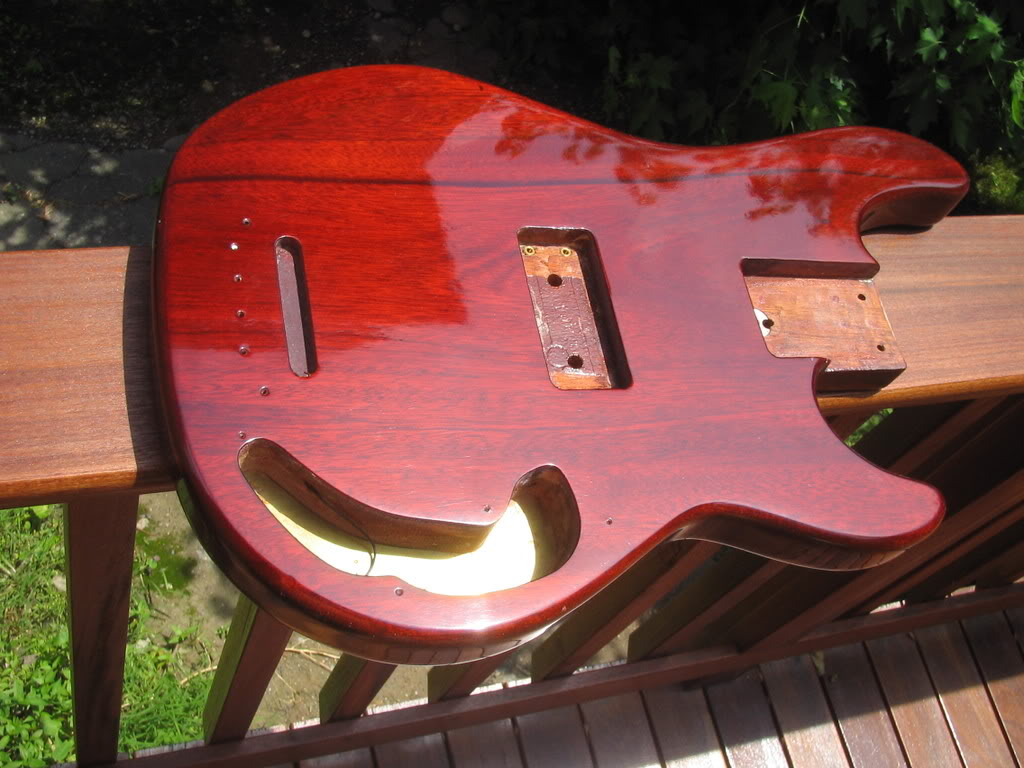
(Update August 4th, 2008)
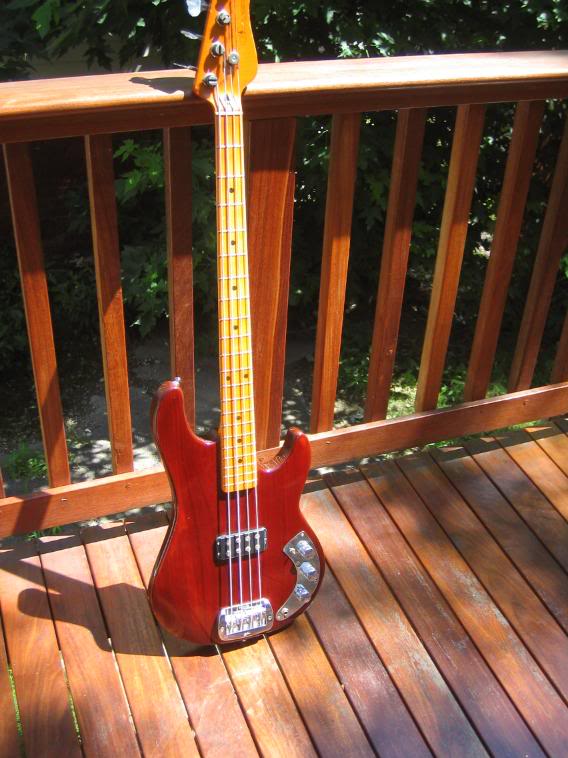
Finally took some pictures of the completed G&L.
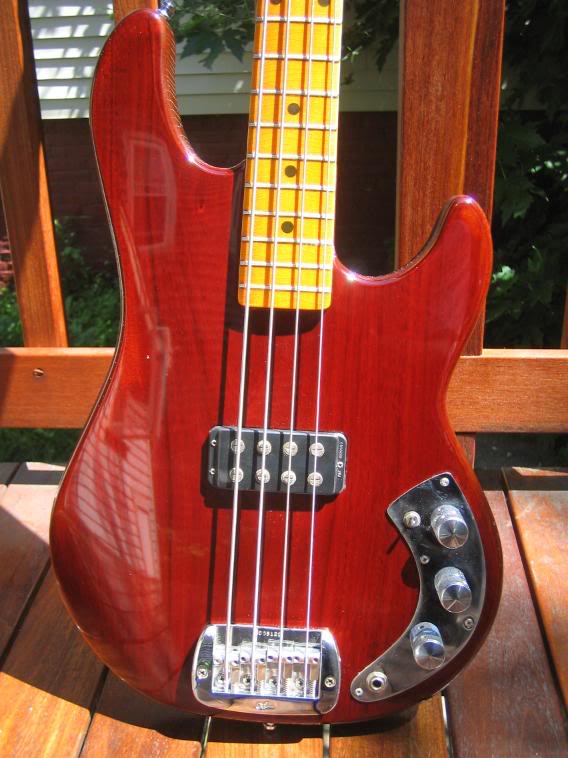
After letting the finish set for a few weeks (this humidity has really slowed down drying times!), I gave the front another wet sanding and buffing, and it came out very nice - glossy and with the mahogany grain nicely emphasized.
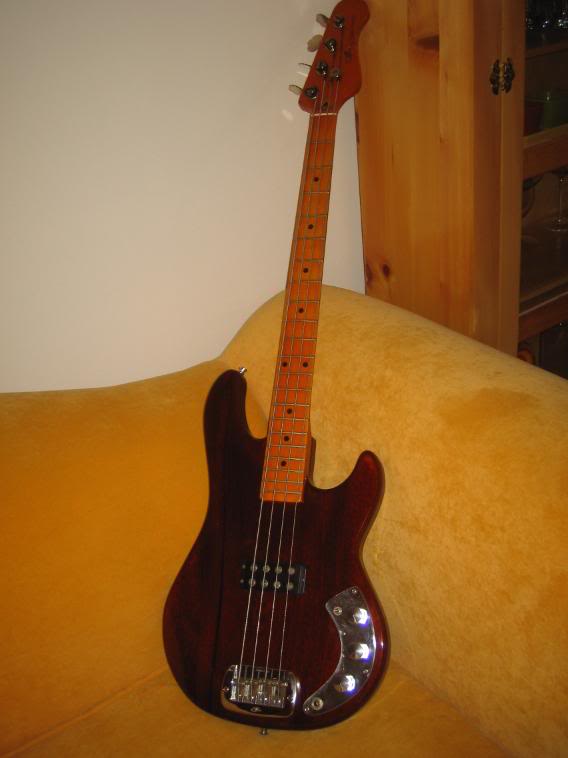
As with most stained finishes - its hard to get an accurate picture of the color - in the sun the redness of the mahogany comes through, while indoors the guitar has a decidely more brown cast to it. However, its a nice match with the back, with the exception of the crazy stained-glass like checking on the back of this old G&L, which looks really cool. Perhaps in 20 years or so the front of this bass will check also.
A nice solid bass that hopefully will get some play !!
- How To: Fender Mary Kaye Blonde Finish
The Mary Kaye finish is a slightly transparent blonde finish - much like Fender's blonde Telecaster finish but without any yellow tint (and very different from the more yellowed and more transparent butterscotch finish) - applied over ash wood and...
- 1990 Les Paul Junior Tv, Vintage Style Refinish
The Les Paul Junior TV finish is one of the classic vintage guitar finishes and also one of that has been re-interpreted in many ways on various reissues over the years. The worst interpretation in my opinion was Gibson's early 90's version,...
- G&l Asat Bass Refinish
Ok some of you may wince, because this bass had a very nicely done factory cherry sunburst finish when I started on it, but the owner simply didn't like it and wanted something brighter and louder and more ... ORANGE !!! This is a very cool bass -...
- Squier Strat Quickie Paint Job
A customer acquired Squier of indeterminate vintage, for free I believe, and decided they wanted to "spiff" it up without spending a lot. Since the Squier had the typical poly urethane/polyester bowling ball finish and it was a heavy plywood body, we...
- 1978 Fender Jazz Bass Refin Project
(originally published 12. October 2007) I just started a new project on behalf of a customer this past Wednesday - its a 1978 Fender Jazz bass thats been through a lot and had a partial refin over the years. The bass has replacement tuners and bridge...
